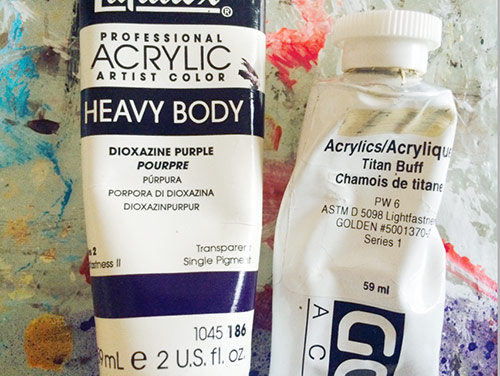
In my earlier videos, I showed how I painted the abstract background of my latest piece. Since then, I have shifted all my attention to the star of the painting itself, Mr. Skull. I started by applying the base color. It doesn’t have to be perfect but in the long run, it definitely helps to properly outline the shape of the subject you are painting. Titan Buff acrylic paint is what I usually use for the base of my skull paintings. Were you planning on using white? Take a look at a real skull and I guarantee that you won’t see a speck of pure white on it. I recommend a spooky trip to the cemetery if you don’t believe me.

With the base done, the next step is to give it some shape by adding very basic shading. Don’t you reach for that jug of black paint! Realistic shadows are NOT BLACK. In most cases, the logical color to use would be violet. It is complementary to yellow which is the color of sunlight. But for my skulls, I tend to use a darker shade of the most dominant color in the scene. For example, if I have a scene that is predominantly orange, then my shadows could be Raw Umber. In this particular case, the background is mostly pink and purple so I decided to use Dioxazine Purple for the basic shading.
I usually mix the base and shading colors to start building layers of paint on the canvas. Water is mixed in regularly to keep the paint fluid but more importantly to add a bit of translucency. The latter is very important when layering paint but requires some trial and error to find the exact proportions of paint and water. If the paint is too wet, it’ll simply smudge the layer below. If it’s too thick, it’ll cover the previous layer. Using a soft round brush helps spread the paint evenly.

The last thing to do here was to go in with a smaller brush and use pure dioxazine purple to fill in the eyes, nose and any other high contrast areas such as the deep cracks, teeth, etc. This doesn’t have to be perfect but it will definitely breath life into your painting…
In the next video, I will repeat the same process to complete the delicious frozen snacks that are on this skull’s mind. Leave a comment below if you have any questions. I will try to address them all in Part 3 of these series of tutorials.


